
Three Ways To Improve Your Kettle Bell Training
I use kettle bells A LOT when training clients, both men and women. Yes, some small bruises may occur while learning how to use them, but I really believe to get the benefits of overall functional fitness, you need to know how to use kettle bells. Let’s go through WHY I like using them so much and then let’s discuss how to use them better.
Why do I like using them so much?:
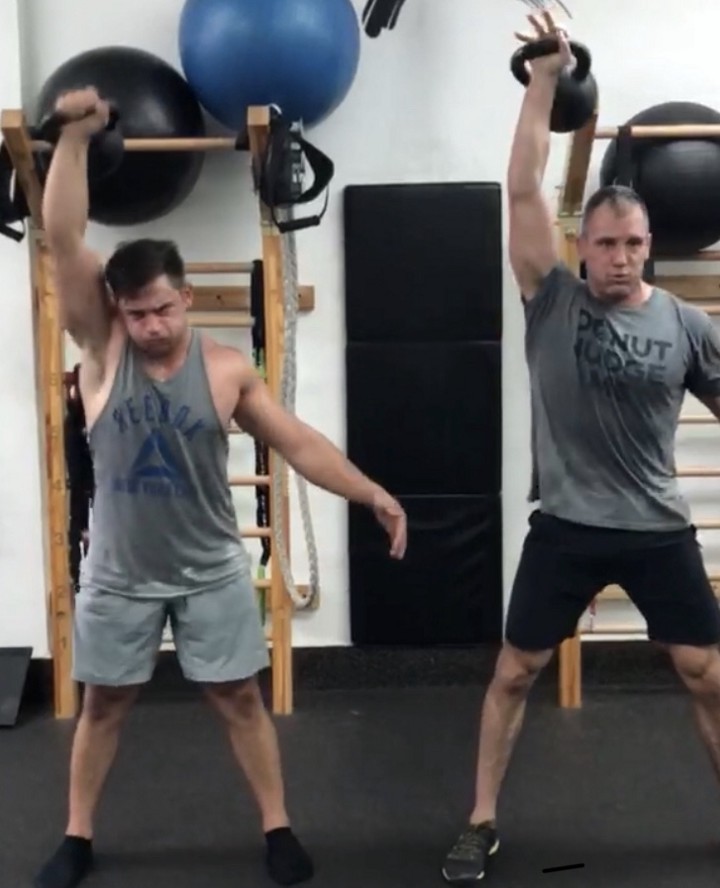
- They are truly functional? To me all this means is that more of the body is utilized when performing a movement. Most of the kettle bell movements require a lot of muscle recruitment to perform. The kettle bell swing is primarily a hip centric movement, but you need your whole body to perform it. And a kettle bell snatch (seen on the left) recruits even more muscle fibers because you’re taking a kettle bell from your hips to over your head. That’s a far travel that requires a lot of force.
- They encourage core engagement — When you’re using just one kettle bell your body is using a lot of muscle force already just to offset this force. Then when you do movements like squats, lunges, or presses, your body working doubly hard by trying to keep you upright and do the movement. And these types of movements are SO much more beneficial to your core stability and strength.
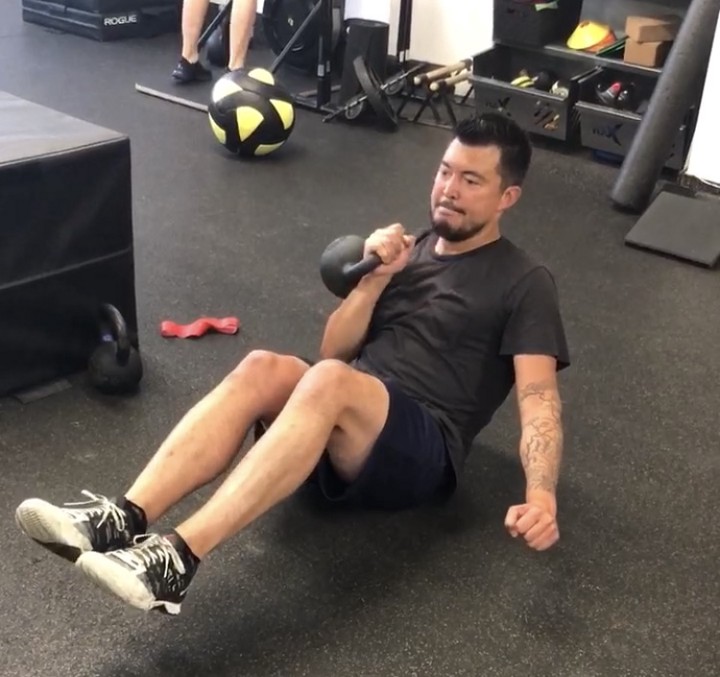
- They are flexible in use — I can go from a single arm swing, to a clean, to a snatch to a squat press easily. You can see in the video above, I do all four of these in a nasty little workout that goes from 1 rep of each on both arms, to 2 reps of each, all the way up to 5 reps of each. That’s a lot of different movements that you can do and balance out the body working without putting anything down or moving from your spot. What do I mean by balancing out the body? I don’t want to do too many pulling movements in a row, or we’ll get fatigued in those muscles. I need to balance out the pulling and the pushing. It’s easy to do with kettle bells. Talk about functional!
So that is just three of the reasons I love to use kettle bells a lot. Now that we know why we want to use them, lets talk about three simple things that can help you with how to use them.
I had been using kettle bells a lot in my training before I decided to get certified in kettle bell training. It was a two day seminar that went in depth into a variety of different kettle bell movements, like the swing, clean, press, Turkish get-up, and more. And to tell you the truth, as I was getting my RKC Certificate (Russian Kettle Bell Certification), I wish it was another two days because the movements are so intricate. And when you learn the specifics, it’s really empowering and just plain interesting how these aren’t just barbarian movements, they are precise and powerful.
Let me just say, there’s a big difference between just moving anything, whether it be dumbells, barbells, and especially kettle bells, and moving correctly. When you do kettle bell movements correctly, it’s more efficient, safer, and certainly more beneficial strength and fitness wise.
I can’t tell you how many times I’ve heard, “But that’s so much easier!” when a client has an a-ha moment of figuring out a kettle bell swing, or clean. And I say, “Yes. I know!”
How To Use Kettle Bells Better
Now that we’ve established the reasons why I like using them, let’s discuss a few ways on how we can make kettle bell training better for you. I’ll just say the three and you can watch the video I made. But if you really want the best sense of what I’m putting down, it’s best to keep reading and then watch the video before and after.
The three ways I’ll be showing and explaining how to make kettle bell training better are:
- A stronger wrist
- A stronger shoulder (packing the shoulder)
- A safer shoulder when swinging
Now for the meat & potatoes.
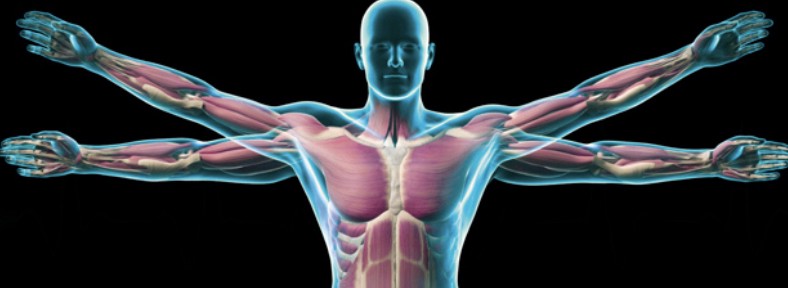
- A Stronger Wrist — (Keeping the wrist straight as opposed to letting it bend back when holding the kettle bell in rack position at your shoulder) When I went through RKC training and certification, the coaches were always professing how a strong wrist was important for pressing and holding. But they didn’t get into the neurological benefits and specifics of a strong wrist. It wasn’t until Ryan Chow a PT, and fellow fitness nerd told me about how much stronger we can be just by pressing down your pinky when holding the kettle bell. He said how that neurologically turns on a signal to your brain to ignite your tricep muscles (back of your upper arm) and latissimus dorsi muscles (side of your back). The significance of this is that when you’re pressing a kettle bell above your head, you want as much muscle fiber recruitment as possible, and if by holding down the pinky helps engage two of the most important muscles, then you gotta do it.
Like any fitness nerd, I had to research this further and found an interesting article from the Dragondoor RKC School of Strength that goes into detail how the grip of the kettle bell can help you engage more muscles so that you can perform movements with more strength and power. In short, not only does pushing down on the pinky finger help engage the lats and triceps, but pushing down on the thumb area helps activate the bicep and pectoral muscles. These are like buttons of strength! So make sure your grip is strong when you’re pressing above your head! - Packing The Shoulder — I’m going to go out on a limb and say the shoulder is the most unstable joint we have. If there’s bigger fitness or anatomy nerds out there that know of a less stable (important) joint, let me know. The only other joint with as much mobility and used as much is the hip joint, and that is a ball and socket joint. So the shoulder is used a lot and it’s important that we take care of such an important joint.
To put it simply, shoulder packing occurs when you depress and retract your “shoulders”. Here is a great little blurb from, “The Kettlebell Coaching Series Part 3: Shoulder Packing.”
Take a minute right now to do the following (from a position of good posture… neutral head, upright torso, etc.): Press your shoulders down (depress) towards the ground and pinch your shoulder blades inward (retract) towards your spine. Now activate your lats… this might take a little work for some people. However, the cue of “you have a $100 bill between your arm and ribs… don’t lose it” usually works. Congrats… you just packed your shoulders.
Easy enough. Remember that the next time you hold a kettlebell at your shoulder.
3. Shoulder Placement During Swings — This is sort of an offshoot of #2, but I feel it had to be addressed separately for a couple reasons. First, it’s important for the shoulder that your arm is in a good place when doing a kettle bell swing. Second, it’s very important for your back that your shoulder is packed during kettle bell swings. Let’s elaborate.
When your swinging a kettle bell you want the shoulder in the back of the socket.
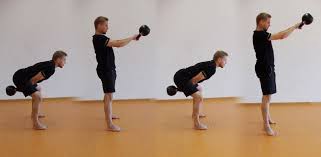
You want the shoulder to feel like it’s in the back of the socket and the arm is bent a little at the elbow as you’re swinging the bell. This certainly feels stronger in the shoulder when you swing, and it won’t feel like the kettle bell is getting away from you at the front. You also want to keep the shoulder in the back of the socket to protect your lower back. The further an object gets away from your center of gravity, the more at risk your lower back is in danger. You can see in the picture of me at the top as well as the picture above how the person has his elbows slightly bent and the shoulder is in the back of the socket. (I’m very strict on this and it didn’t occur to me how prevalent the wrong way to do it was to me until I searched for pictures and saw countless people with crappy arm placement.)
Conclusion
There’s a right way and a wrong way to do things and with kettle bells. Honestly, there are ways that you can do the kettle bell movements and still be beneficial. But over the long haul, the right way will lead to more results and less injuries. And when you do it correctly, I want to hear you say, “But that’s so easy!”


Responses